
Wall and Ceiling Drying Techniques After Leaks Using Air Movers and Dehumidifiers
Water leakages may cause rapid destruction of walls and ceilings. Moisture can soak into drywall, insulation, paint, and wooden frames.
Unless you dry these places quickly, mold can grow within 24 to 48 hours. Drying with air movers and dehumidifiers will ensure that there is no serious damage and expensive repairs.
Why Fast Drying Is Important?
Wet walls and ceilings trap the moisture. It may lead to
- Peeling of paint
- Swelling of the drywall
- and wood warping
Quick drying helps to dry up moisture before it is too late. It also eliminates the growth of molds and foul smells. And you can prevent costly repairs in the future.
Wall and Ceiling Drying Techniques After Leaks Using Air Movers and Dehumidifiers
Removing the Source of Water
First, you have to stop the water leak. Take proper steps to repair the leaking roof or water pipe. This will help to avoid additional infiltration of moisture. After that, remove wet items from the affected area. It will help to deliver better airflow.
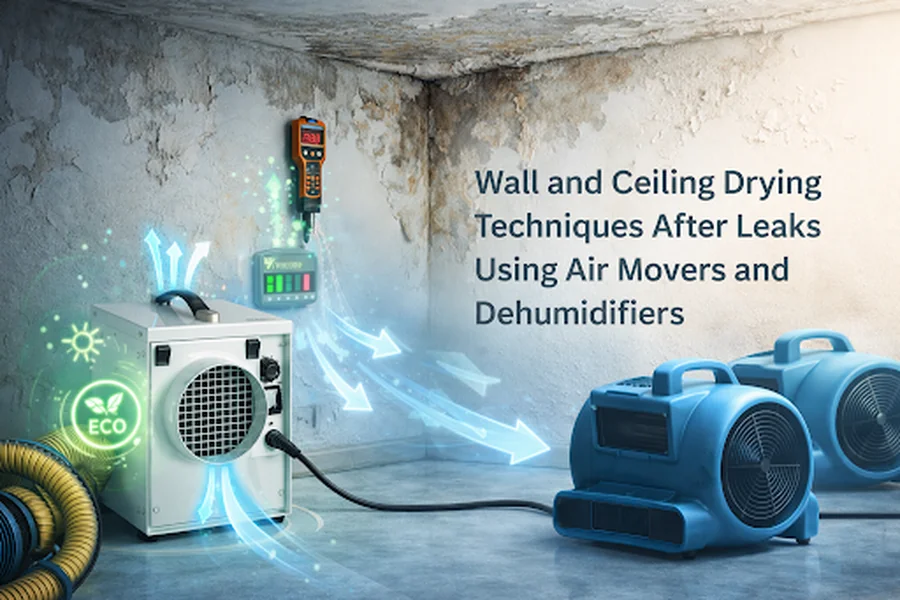
Installing the Dehumidifier
Switch on the dehumidifier before using air movers. The dehumidifier removes moisture from the air. It creates a perfect environment for faster drying.
- Install the dehumidifier in the middle of the room.
- Make sure it is not blocked by anything.
- It’s best to close doors and windows to get better performance.
The dehumidifier helps to maintain the humidity level. This allows moisture to leave the walls and ceiling faster.
Position Air Movers Properly to Dry Walls
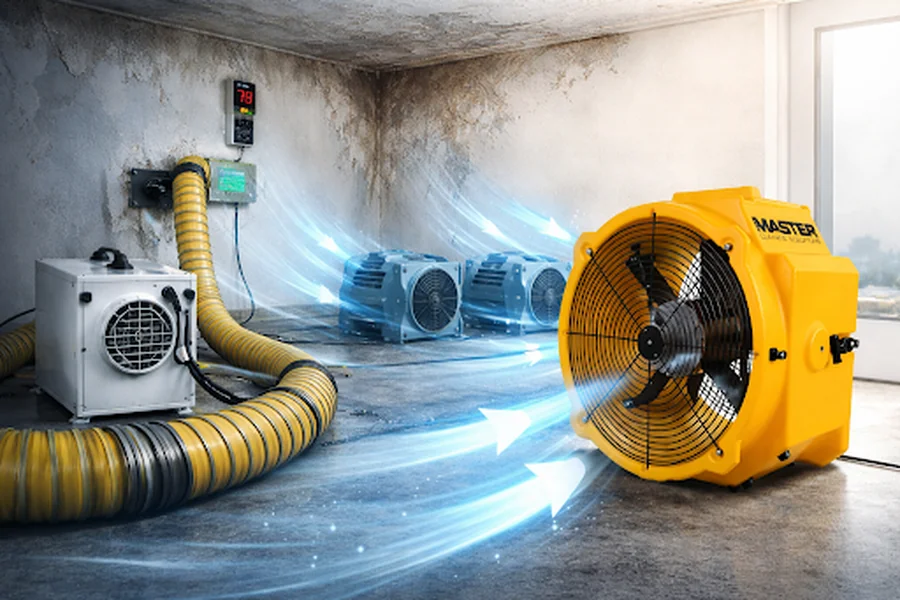
Air movers push airflow across wet surfaces. This airflow increases evaporation. Place air movers on the floor facing the wet wall. Tilt them slightly upward. This assists in the circulation of air all the way over the wall.
Position the units about 1 to 2 meters away from the wall. This distance allows proper airflow coverage. You may need multiple air movers for large walls. Place them every 3 to 5 meters. This provides full-surface drying.
Dry Ceilings Using Proper Airflow Direction
For ceilings, you need special attention. Install air movers in elevated places like tables or stands. Direct the air up to the ceiling.
You can also angle floor air movers upward if elevation is not possible. This helps move air across the wet ceiling surface. Pay attention to places around leak points. Such areas hold the most moisture.
Create Continuous Airflow
The air should circulate on wet surfaces. Do not switch off the equipment too early.
Continue using air movers and dehumidifiers for at least 24 to 72 hours. If you are facing larger leaks, you may need more time.
REAL LIFE CASE STUDY: House Water Damage Restoration & Structural Drying Water Damage – Main Floor and Ceiling Drying Case Study
BioSweep Southeast (actual restoration job)
https://www.biosweepse.com/water-damage-case-study/
Problem Summary
Customers found themselves dealing with water damaged ceiling and main floor. Moisture needed to be wicked out of materials to prevent structural damage and avoid mold. Occupants couldn’t use the space until repairs and drying occurred.
Solution
Drying technicians brought industry-grade tools and followed moisture control best practices:
Inspection & Removal of Standing Water
Technicians evaluated material saturation with moisture meters and pumped standing water out of the property prior to beginning drying.
Dehumidifiers & Air Movers
Commercial dehumidifiers were placed to actively pull moisture from the air, while air movers were strategically aimed at creating airflow along walls and ceilings.
Moisture Mapping
To avoid slow points in drying, technicians performed moisture mapping. Moisture meters were used to locate pockets of dampness so that air movers/dehumidifiers can be directed there.
Sanitizing / Cleaning
Once dry, materials were cleaned/disinfected to ensure any residual moisture would not lead to mold growth.
✔ Results
- Property was dried and moisture stabilized in a matter of days.
- Future mold growth was eliminated.
- Occupants were able to enjoy their space back with no major demolition required.
Case Study: https://www.biosweepse.com/water-damage-case-study/
FAQ — Ceiling and Wall Drying Leaks and Enclosures
1. Why does it matter if you dry things quickly after a leak?
If walls and ceilings are wet for too long, paint can blister, drywall can swell, wood can warp, and mold can start growing — usually in 24-48 hours. Fast drying can save material from being destroyed.
2. How do dehumidifiers help dry rooms after leaks?
Dehumidifiers pull moisture out of the air by condensing water vapor into a collection tank. Removing water from the air will lower the overall humidity level in a room, making it dry quicker.
3. What’s the proper angle for air movers when drying walls and ceilings?
Ideally, air movers should be placed about 1–2 metres away from wet surfaces and tilted slightly up so that they blow air along the wall/ceiling. Every 3–5 metres along a wall is recommended for full coverage.
4. How long should I run air movers and dehumidifiers?
Every situation is different but air mover/dehumidifier drying should continue anywhere from 24–72 hours depending on: outside temperature, humidity, and amount of saturation. More severe water damage may require a longer drying period to fully dry out walls and ceilings.
5. Can I use heaters to dry quicker?
Yes, turning up the heat will help promote faster evaporation. Try and keep humidity between 30%–50% while drying to reduce the chance of mold.
Final Words
Follow these techniques for drying the wall and ceiling after leaks. Hot air enhances the drying process. In case the room is chilly, heaters can be used to warm up the room. Humidity must be maintained at 30-50%. This helps to dry faster and avoid the development of mold.